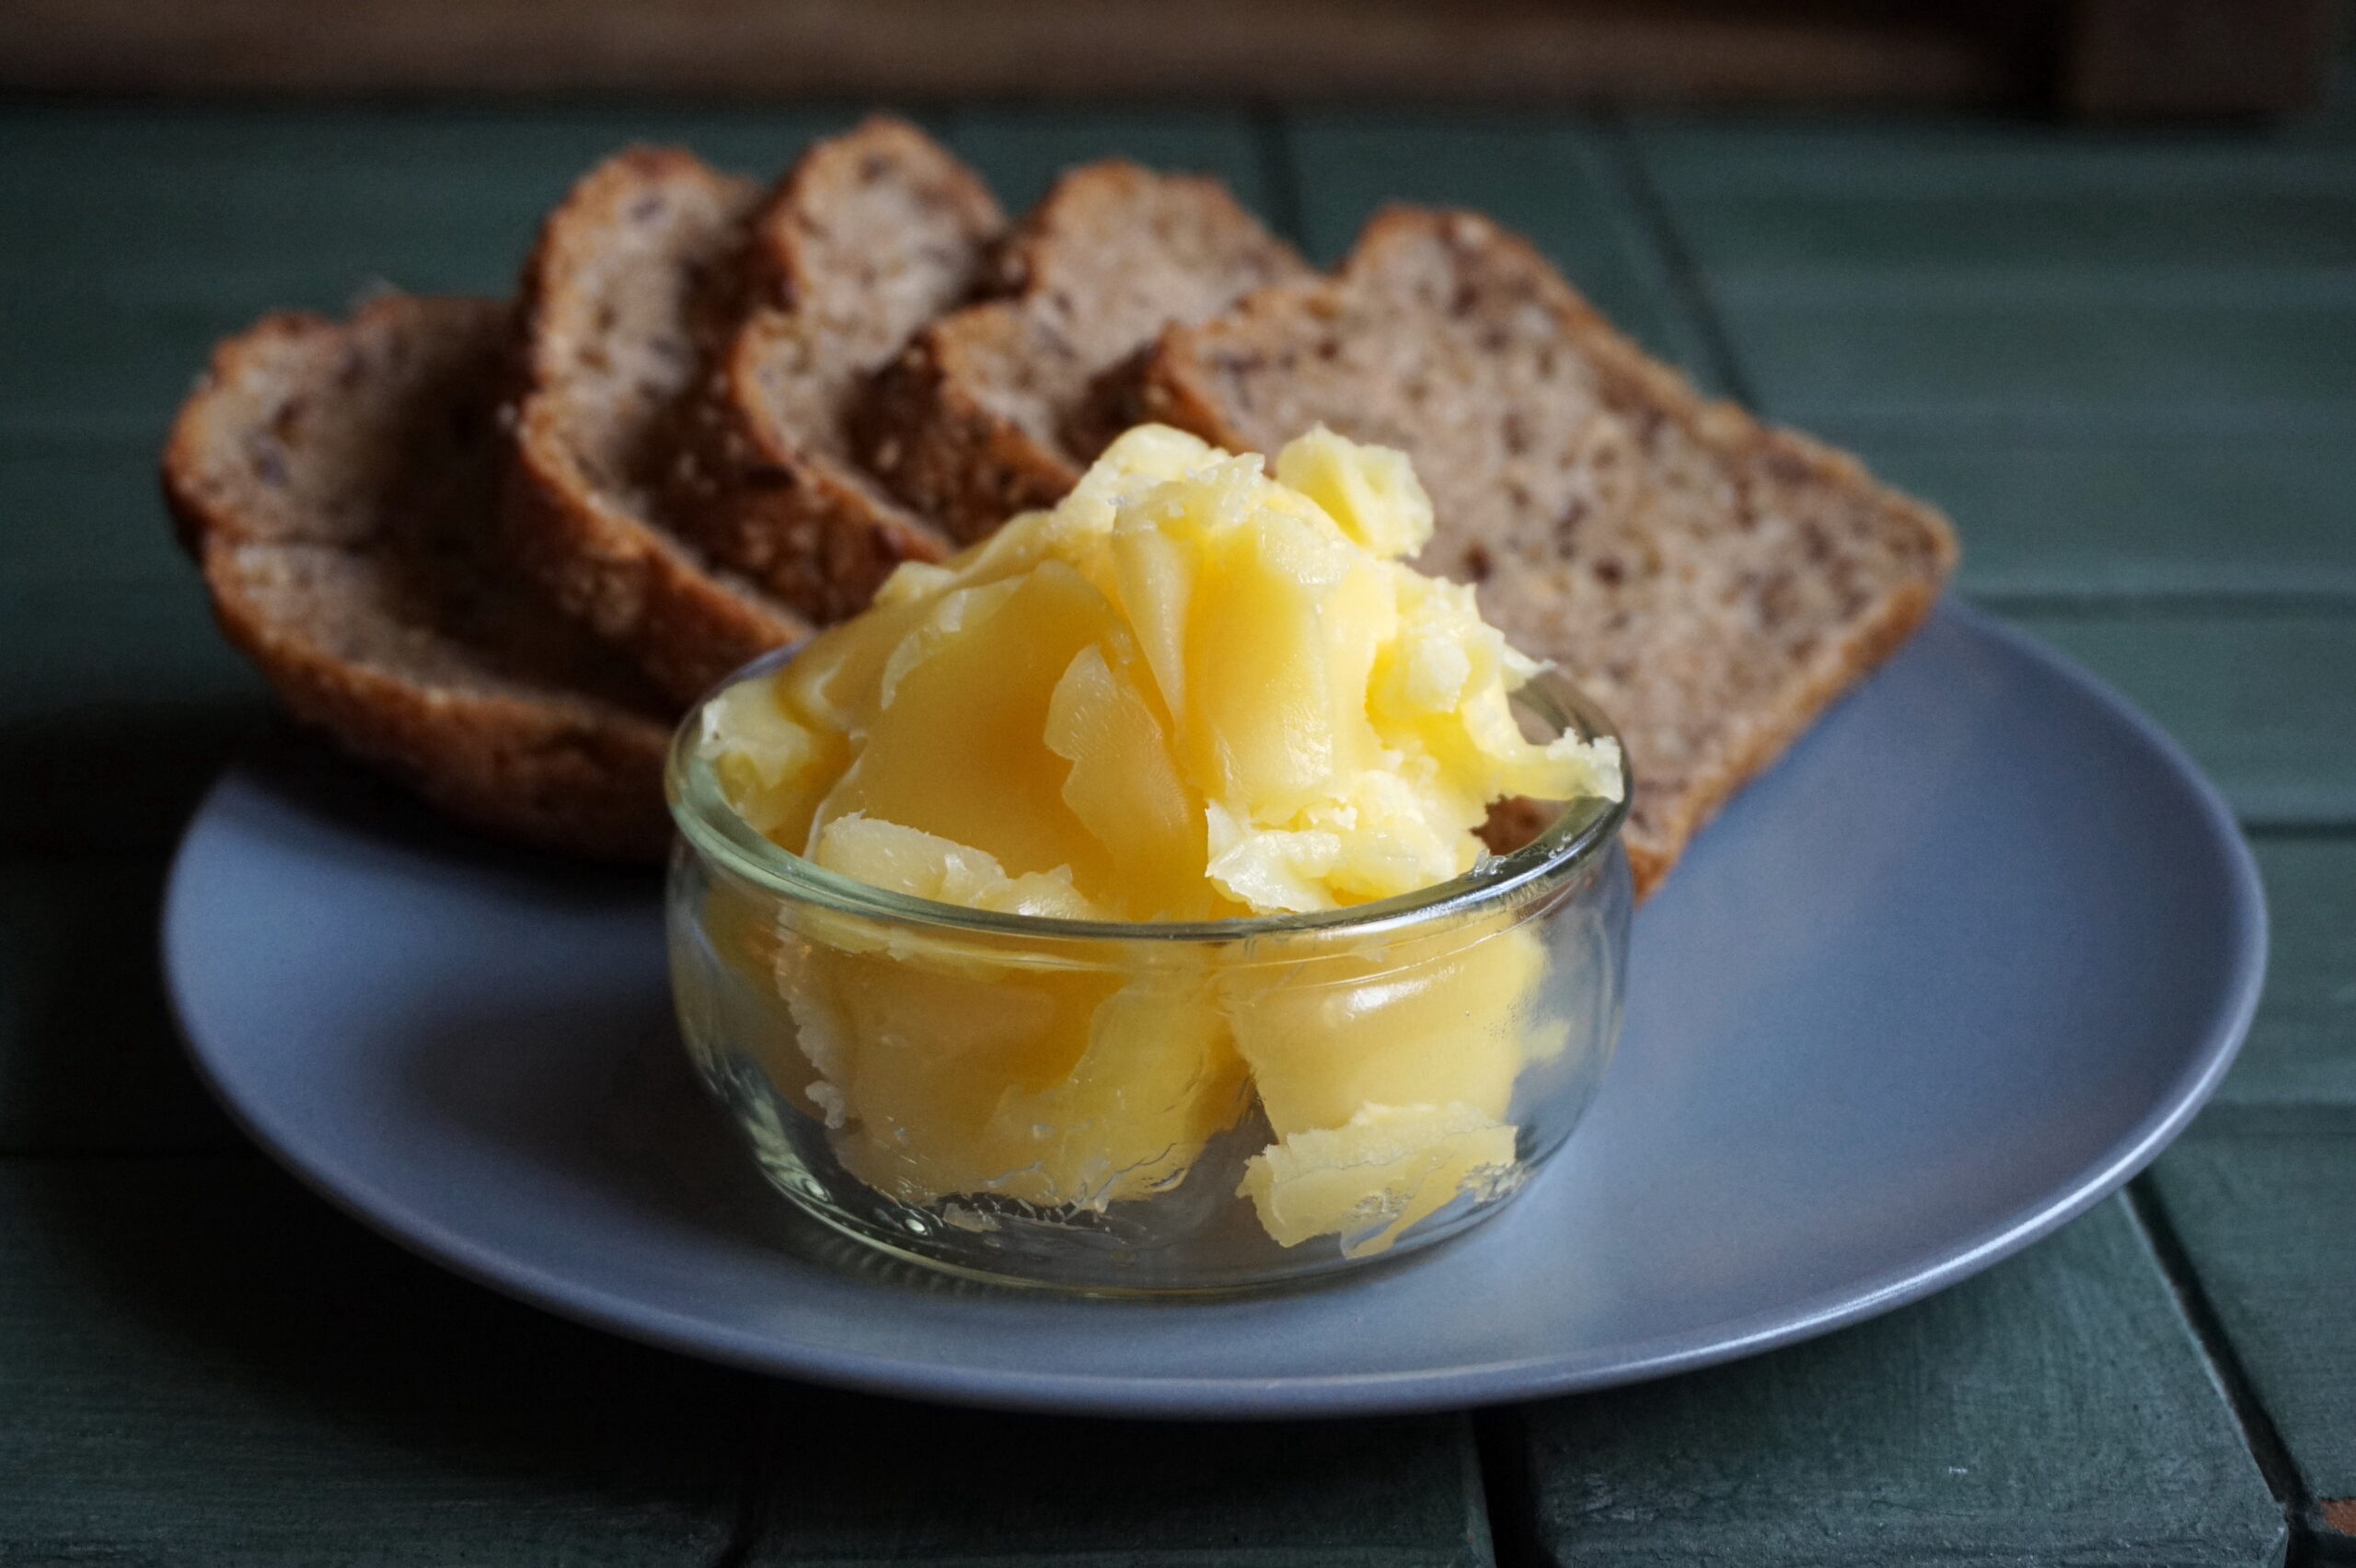
Ghee, or clarified butter, is renowned in India both as an element of traditional medicine and as a vital ingredient in our cuisine. The recipe I share below is very easy to make, giving you an essential ingredient for your recipes and your health.
Ghee and Ayurveda
From birth, humans consume milk, making it the most natural human food. Milk is like nectar for sustaining health, according to Ayurvedic medicine, the world’s oldest system of medicine, which originated on the Indian subcontinent.
Ayurveda particularly values ghee because it is full of nutrients. Eaten in moderate quantities, ghee is believed to increase mental and physical stamina. It is also believed to help detox the body, increase muscle flexibility, and smooth the skin, but moderation is key. In Ayurveda, applying ghee via Nasya (nasally) can balance Tridosha, three energies that regulate the body’s physical and emotional functioning: Vata (air), Pitta (fire) and Kapha (water).
Ghee and Religious Ceremonies
Ghee is the oil used to light lamps during sacrificial yagna rituals because of the fresh oxygen it produces in the atmosphere.
Ghee and Cooking
Cooks highly prize ghee because of its high smoke point and distinct, slightly nutty flavor.
When properly made and maintained, ghee does not require refrigeration. In fact, I don’t recommend refrigerating ghee because it can cause condensation. It is moisture that spoils ghee, allowing a mold to grow and causing it to go bad. This is the reason that you should always use a clean and dry spoon to take your ghee out of its container.
Tip: The top light crust of whitish milk solids you skim off the top of the ghee and the heavier milk solids at the bottom of the pot are traditionally used to make sweets. Don’t throw these away!
How to Make Old-fashioned Ghee at Home
Preparation time: 5 minutes
Cooking time: 15 minutes
Cooking level: Easy
Ingredients:
- Two pounds of whipped butter (preferable) or sweet cream unsalted butter
Preparation:

1. In a heavy stainless-steel pot, add the whipped butter or butter sticks
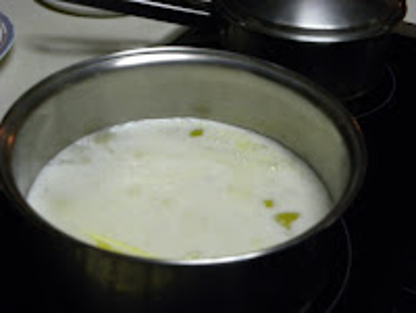
2. Once the ghee begins to boil, turn it down to the lowest flame at which it will continue to boil. As it boils, moisture evaporates and it will begin to “clarify.” At this point, the butter will turn from a cloudy yellowish liquid to a more golden color. Whitish cloudy milk solids will rise to the top and sink to the bottom.
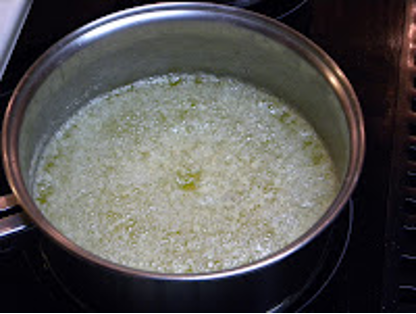
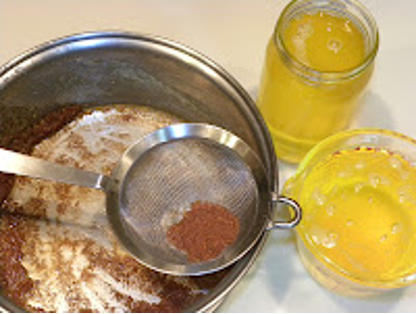
3. After 10-15 minutes it clarifies and you will see debris on the bottom of the pot. After the Ghee is done, skim off the top light crust of whitish milk solids.
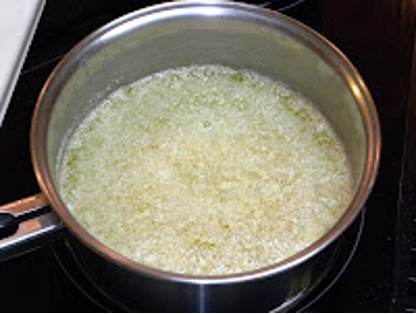
4. Pour the golden, sweet-smelling liquid through layered cheesecloth or fine mesh sieve into a bottle. This lets you catch any last impurities, leaving the slightly burned milk solids (caramelized lactose) on the bottom of the pot you cooked it in (ghee has no lactose or milk sugars in it).

5. Let it cool down for 15-20 minutes.
6. Store it in a cool dry place. Be sure to not close the glass jar into which you pour the hot ghee until it comes to room temperature. There should not be any moisture from condensation on the inside of the jar.

CAUTION: Do not stir it. After an hour and half to several hours, depending on the amount and the size of the pot and the amount of ghee compared to the flame, your ghee will be ready. The moment ghee is “ready” is very critical. If you cook the ghee too little, you will be left with moisture in the ghee and it will lack the exquisite taste and qualities that it can develop. Also, it will tend to spoil or sour. If you cook it too much, it will burn and impart a certain nutty flavor to the ghee. This does not ruin the ghee at all, but it is to be noticed, so that over time you can capture the “perfect” ghee to be experienced between these two “extremes.”